
Follow along for step-by-step instructions for how to make your own LED glow jar!
What started out as a quick craft made for fun at my desk quickly turned into one of the most popular photos we’ve ever shared, so it seems only right for me to show you how I made it, step by step.
Glow jars are by far my favorite, easy way to add a little bit of whimsical light to a room. The only supplies you’ll need are a battery-powered string of micro-LED lights and the mason jar of your choice. Mason jars can be purchased pretty much anywhere--the jars pictured here are from Target. To show off the versatility of this craft, I used a jar of each size (large, medium and small). This is the perfect project for anyone, whether you’re an expert crafter or, like me, you don’t have an ounce of craftiness anywhere.

LightBulbs.com has hundreds of micro-LEDs in stock, so this craft really is fully customizable. I chose warm white strings for a classic look, but any color would look just as lovely. One idea I had while putting this together was to make a jar with multiple colors of light to represent your alma mater!
Step 1:
Unscrew the lid of your mason jar. Remove any tags or stickers from the jar so your end result looks its best.
Step 2:
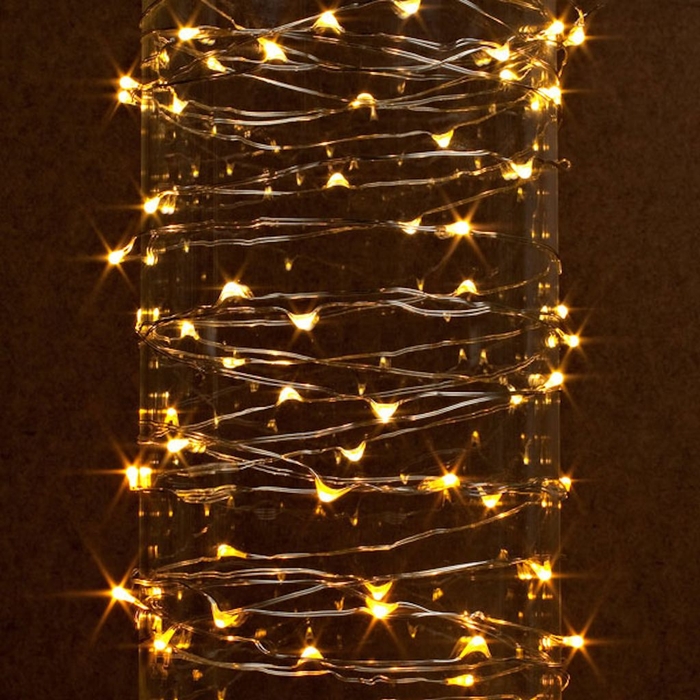
Place your light string in the jar in a random pattern, with some lights lying flat on the bottom of the jar, some sticking up towards the lid, and some crisscrossing throughout the middle of the jar. The random pattern gives your jar the whimsical, shabby chic look we’re going for.
Step 3:
Pull and push on individual lights and areas of the string to make sure the lights are evenly spaced throughout the jar to avoid any unlit “bald” spots.
Step 4:
Screw on the lid of your jar over the end of the light string, and switch on your creation! Voila!
Hide the battery pack behind the jar. It stays fairly invisible while your jar is illuminated, but looks best disguised behind another jar or decorative item.
That’s it! We hope you enjoy your new piece of décor, and the time you saved with this fast and easy craft.


