
A step-by-step look at how to make one heck of a Halloween decoration.

Decorating for Halloween has only increased in popularity in our modern times. As a culture that’s become more and more entertainment based, it’s not unpopular to find artistic expressions peppered into your everyday life, not to mention, on holidays when decorating can take the front seat.
Here, we’re going to detail just how you can include your own personal touch in decorating for one of the world’s most bewitching holidays.
Today’s DIY project revolves around the combination of two major Halloween themes. It’s no secret that this holiday deals very heavily with ideas of (un)deadness, and naturally, the skull takes center stage. On the holiday’s natural (and less spooky) side, we find a strong attachment to the concept of the harvest and anything involving the crop and the season of fall. Combine the two, and you get….
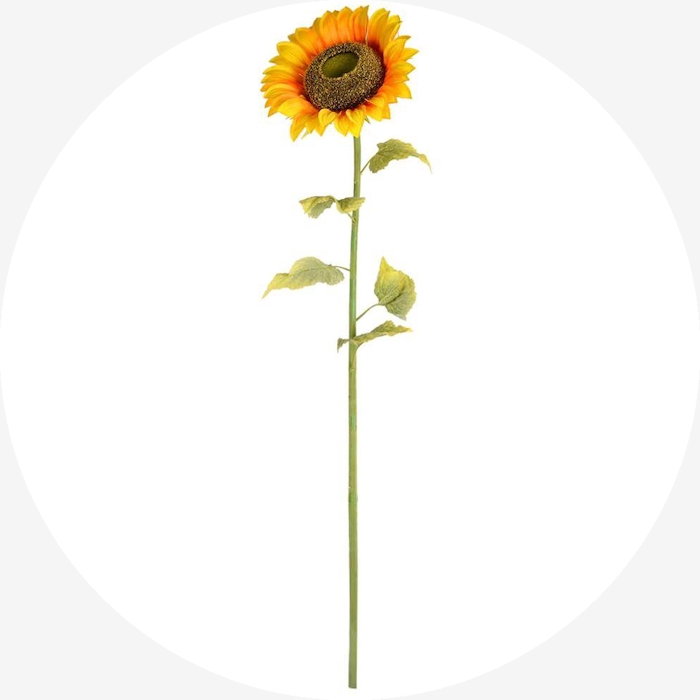
Skull Sunflowers!
I’ve partnered with Sarah H. (@worldofhufie) to create this step-by-step DIY guide and provide a nice, smooth process for you to follow when creating these one-of-a-kind decorations.

First off, we'll need to list the supplies you'll potentially need for this project. You'll want:
Hot Glue
Artificial Skull
Acrylic Paint and Painting Supplies (optional)
We provide all of the foliage for this project, (speaking of which, if you're a fan of foliage decorating, be sure to check out our new Dried and Preserved foliage line!)
The rest of the supplies can be found at your local arts/crafts store. There's also a fascinating alternate way to create your own skull, which can be learned through watching this YouTube tutorial.
Once you have obtained the skull you want for your design, remove the back end, as pictured:

We do this so that the skull can sit flush against the sunflower, as opposed to letting it appear to be popping out of the flower. Once this has been completed, hot glue the back of the skull to the flower. We'd recommend doing this somewhere you don't mind getting messy, as cutting through Styrofoam can be a bit chaotic.
After this, apply glue to the area surrounding the skull. Then, add the mossy foliage to the surrounded space around the skull, embedding it in the flower just a bit more:

Next, after all of the glue has dried, you are free to paint the skull as you'd like. Note that this step is optional, and if you lack the supplies to do this step, not all is lost, as you are still left with a pretty gnarly Halloween decoration. However, if you'd like to paint it, this will really bring out an artistic flare that makes this decoration pop.
Make sure that, if you do decide to paint the skull and moss, you use acrylic paints and not oil paints, as oil will take an outrageously long time to dry, and won't work well for this project.
Sarah chose to paint hers with earthy tones, which I think work perfectly. The burnt umber browns mixed with mossy greens and gold highlights make for a truly haunting guise, as well as work to blend the skull with the subject matter of a sunflower/harvest.
Here's a picture of Sarah in the process of painting her skull and the surrounding moss:

With that, at long last, your Skull Sunflower is finished! I hope you enjoyed the process, and appreciate the final result! We at LightBulbs.com are huge fans of Halloween, and we love these decorations. If you have any pictures you'd like to share of your own Skull Sunflowers, be sure to send them our way!
Additionally, for more Halloween decorating ideas, be sure to read our "Best Halloween Decorating Ideas" blog!
Lastly, I'd like to say thanks to Sarah for her help with the detailing of this process! She is a wonderful artist - if you are fascinated by what you've seen today with this DIY, be sure to follow her on her Instagram page at @worldofhufie for more sweet artistic endeavors!
Here is Sarah with her final result:


