
Learn how to be a self-sufficient motorcyclist with this guide on how to change your own motorcycle headlamp bulb, and troubleshoot potential issues.

It sounds like such a simple task: changing your motorcycle headlight. However, it can prove to be rather challenging depending on the type of motorcycle (and the situation) that you find yourself in when you need a replacement bulb. Maybe you need a new bulb after a long winter, an extended stint in the garage, or even an emergency replacement late at night while you’re on the road.
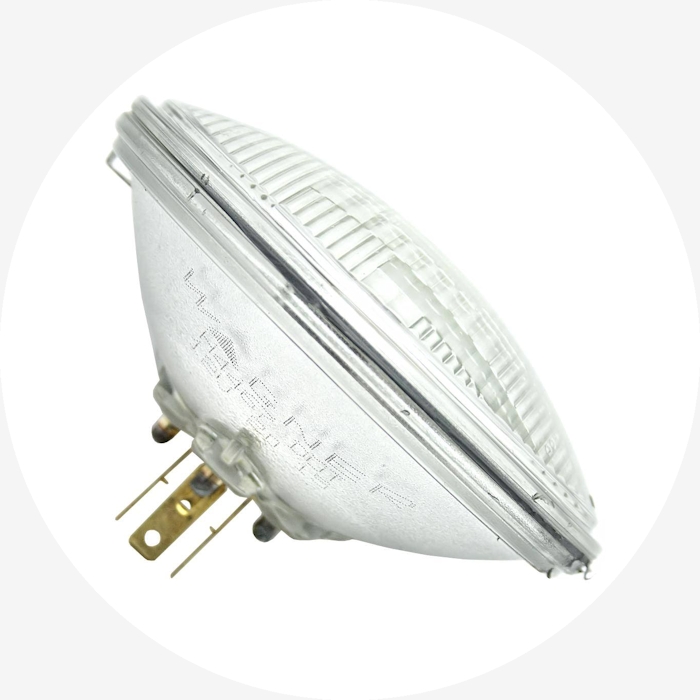
At LightBulbs.com, Sylvania is our first choice for motorcycle replacement light bulbs and where you can find a guide to mastering how to replace your light bulbs yourself. Knowing how to change your own motorcycle’s headlamp is a great skill to master, no matter what the circumstances are.
Pro-tip #1: Get Balanced
When preparing to change your light bulb, make sure that your motorcycle is on flat, stable ground and is held in place by either a kickstand or another person. You will be torquing on the front end of your motorcycle, and want to refrain from having it fall over with a heavy pull from a screwdriver or ratchet.
Pro-tip #2: Loosen Up
Referencing your manual, loosen the required screws or bolts to gain access to your headlight bulb. Place them in sequential order on the ground in a visible place, so as to not lose any important pieces. It is helpful to place them on a piece of paper or a clear, flat surface to ensure that you don’t misplace any of your smaller screws and bolts.
Pro-tip #3: Out with the Old, In with the New
Remove any covers or coupling barriers that may protect your bulb to enable you to gain access and replace it. Carefully disconnect the bulb, taking care to not break the glass and remove it in one piece. If you’re met with any resistance, secure your grip around the base and loosen. After examining the socket and removing any residue, insert the new bulb into place.
Pro-tip #4: Reconnect
In the reverse order, replace the cover and coupling in the same style that you removed them. Tighten any screws or bolts to ensure that nothing may come loose overtime. Attempt to not strip any of your screws by using the appropriate sized screwdriver when replacing the cover. Test your replacement bulb to make sure that the replacement was a success and you are safe to get back on the road.
Pro-tip #5: Play Offense
Always keep an extra bulb and required tools in your garage or in your saddle bag when you are on the road. Being able to have quick access to the light bulbs and tools that you need will ensure that you are back on the road in no time.
Troubleshooting Guide!
In the event that your motorcycle headlamp does not work after replacing the bulb there may be other issues to address. Some are more simple to troubleshoot than others. Consider going through the following checklist if changing your headlight does not prove to be a successful fix to your problem.
- Check your fuses for any possible blown fuses that may be preventing your light from functioning.
- Inspect your wire connections to see that everything is properly plugged in and that there are no barriers or gaps.
- Reference your manual to ensure that you have purchased and installed the correct bulb for your make and model of motorcycle. This is done by double checking the ANSI Code (usually 3-4 numbers inscribed on the bulb itself).
- Test the seal of your cover for any possible entryways for water that may cause, or have caused, damage to the wiring of your headlight.

In Conclusion: Although it is beneficial to know how to change your own headlight, most automotive part stores have knowledgeable staff that can assist you in the off-chance you find yourself with a burnt out headlight. Knowing how to assess and address the issue is useful when you are traveling long distances and spending hours on the road at night. Make sure to note the type of bulb that you need to fast track the process of getting your bike back on the road in as little amount of time as possible. To avoid having to replace your headlight too often, purchase a high quality bulb from Sylvania with more hours of life than the inexpensive alternative.


